Abstract: This post is about how to setup HANA client on a local system. And how to install required tools.
Please follow below steps for setting up HANA client on a local machine.
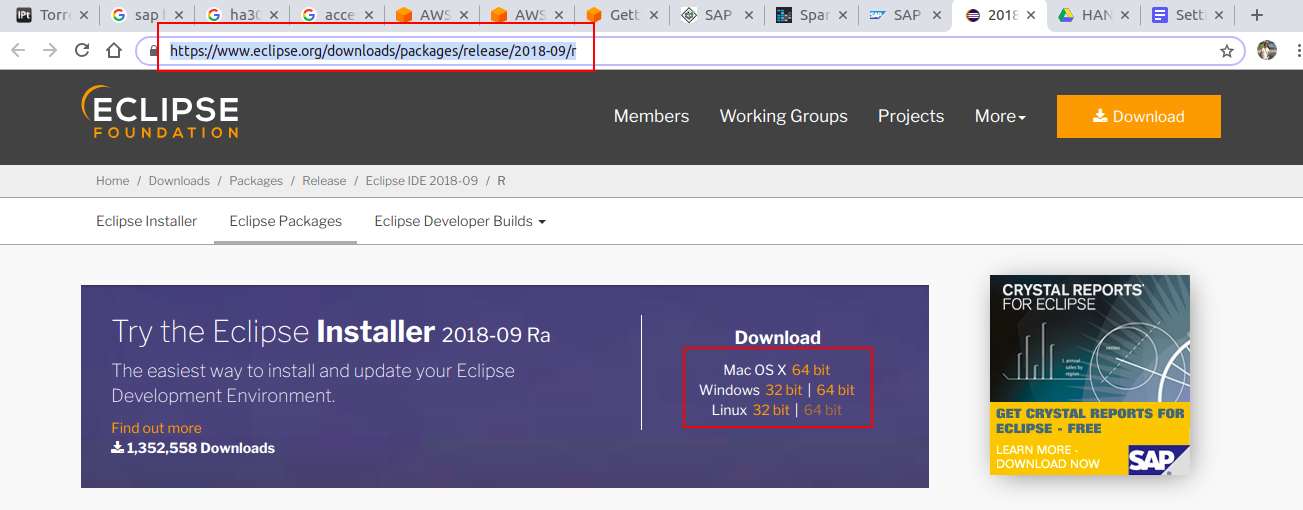
- Install Eclipse https://www.eclipse.org/downloads/packages/release/2018-09/r
- Download and Unzip. We will get setup file in unzipped folder. Double click and start with installation


- From installation screen select Eclipse IDE for Enterprise Java Developers

- Follow on screen steps to complete eclipse installation
- Lunch Eclipse

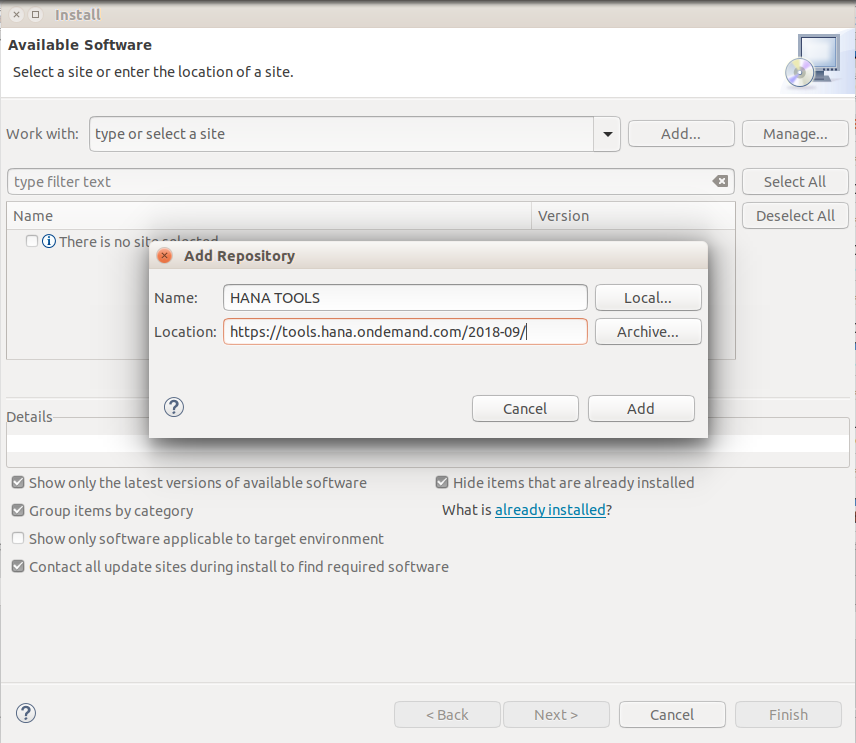
- Now we will install HANA tool kit. On Eclipse IDE go to Help -> Install New Software. On Install window, Add Repository by clicking Add… button. Use following link for the HANA tool repository https://tools.hana.ondemand.com/2018-09. As we are using Eclipse 2018-09 therefore we are using above link HANA tool kit. For any other Eclipse version check correct tool kit repository link on https://tools.hana.ondemand.com/

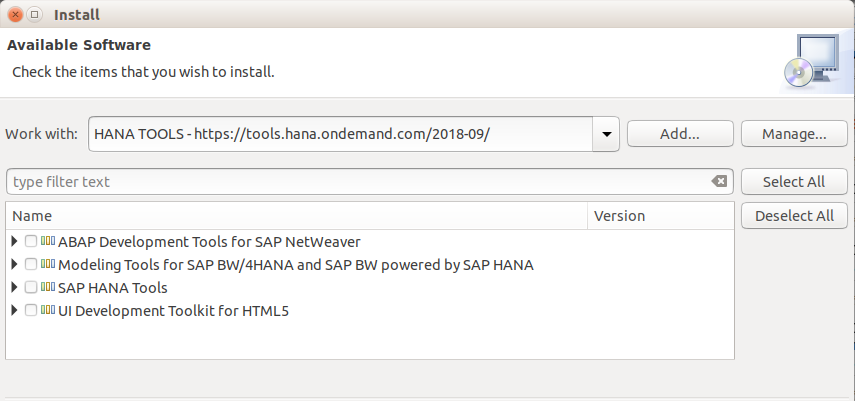
- After adding HANA tool repository, we can see list of all available HANA tools we can install on Eclipse.
- After successful installation we can see following welcome/overview screen for HANA tool kit

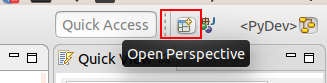
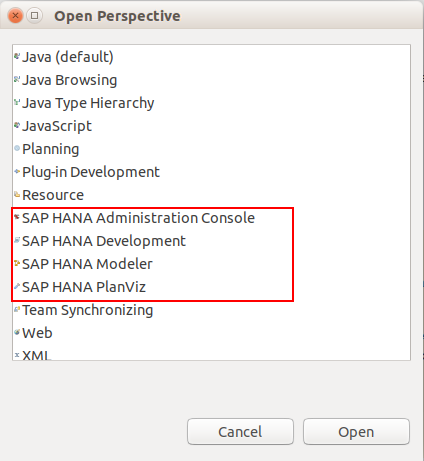
- Under ope perspective we can view HANA tools for launching a new project
Categories: HANA

Leave a comment